
Hardware terminology for the banjo ukulele
Banjo ukuleles have an array of metal parts and almost everyone of them have more than one proper name. The term hardware indicates that it is a removable addition to the banjo uke.
Starting from the head stock are the tuning mechanisms. These are usually friction tuners, or friction pegs on banjo ukuleles. You may see them called tuning machines and pegs just as frequently. There are also geared tuners similar to guitar tuners, and planetary tuners. These two types turn the string at a smaller ratio than friction style tuners and allow precise tuning. The ratios of these tuners varies and is usually something like 1 to 6, 1 to 10 or 1 to 12. Precise tuning is entirely possible with friction tuners as long as they are maintained and free of grit, worn lacquer and dust.
Many of the friction tuners are constructed to use the back of the peg head as a bearing point and the smoothness of these can be improved by adding washer of various materials. (I will discuss that later). Friction tuners might have several parts or be as simple as wooden pegs that are tapered and fit into a tapered hole in the peg head, like a violin.
The parts of the tuner are: Button (the part you turn), shaft, washers, bushings and button screws or adjustment screws. Most all friction tuners can be adjusted by the tiny screw in back of the button and if the tuner remains tight after loosening this screw it should be taken apart and inspected. There might be something binding that has disintegrated like a fiber or hard rubber washer. Another issue might be a rough seat in the wood where the button rests, or the bottom of the button might need smoothing with extra fine sandpaper.
Most buttons are plastic or some form of plastic and have seams from the molding process. There are also buttons made from various woods, ivory, pearloid, acetate plastics, metal, bone and endless other obscure choices.
I will probably revisit the tuning mechanism often in this blog with photos of the various brands and suggestions for modifications.
Next at the other end of the strings is the tail piece. The tailpiece has two functions, the first is not just to hold the strings (somewhat obvious), but to hold then downward at an angle from the bridge. This applies pressure on the bridge insuring transmission of vibration to the bridge from the string, and also, pressure on the skin which sets the skin vibrating over it's entire surface.
A tailpiece that is out of adjustment, or poorly designed, will not put enough pressure on the skin and vibration is lost making the banjo more muted and even causing buzzing sounds and uneven string volumes. It is possible to have too much pressure on the bridge, for instance when the angle is too acute between the tail piece and bridge. This angle has been determined in full size banjos but might not be ideal for banjo ukuleles because the distance to a tailpiece from the bridge on a full size banjo would be greater, and need less of an angle to suffice. I think the best way to start with determining this angle is to picture the angle directly from the top of the bridge downward to the top of the tension ring. Something near that in a bridge/tailpiece string angle will be adequate for most purposes. Some tailpieces extend farther out over the skin and would demand an even more acute angle which might prove to be too much pressure on the bridge. This can affect tone, and quite literally force the feet of the bridge deeper into the skin and damage it by adding depressions in the skin. There are many designs for banjo ukulele tailpieces and several are still available for purchase. The "Nashville" design is still in production and were originally included on both Gibson and Stromberg Voisinet Ukes. they are available from Stewart-Mac and very reasonable in cost. One word of warning though. they has two "teeth" that can damage the skin if they are allowed to be set up against it and will puncture it like a snake bit with very small holes. This can be avoided by grinding or filing off the teeth and polishing the area to a rounded smooth surface. This might not be an issue depending on the thickness of the tension ring and it's height from the skin. Also, on the double grooved "elton" tension ring the teeth seem to fit perfectly across and it probably wont reach the skin to cause any damage.
The next hardware, which is more a permanent part of the banjo uke, are the hook brackets. This term includes the hex type, or L shoe type of brackets and the hooks that hold the tension ring securely in place and of course put pressure downward on the skin.
This is done by turning the hex shaped nuts at the end of the hooks. The brackets, both hex and L shaped shoes, are held by a bolt that runs through the rim and it might have a screwdriver slot or a hex head for tightening.
Care must be taken to have these very tight so that the brackets won't lean inward as pressure is applied to the skin. This can damage or lift the veneer away from the rim.
Hooks come in two basic types, J hooks and flat hooks. They both do the same thing but the J hooks are designed for tension rings that have a notch machined for the curved area of the hook, and often allow it to be near flush to the top of the tension ring. That being said, very often the J hooks are used on banjo ukes where they not really designed for. This is only a problem when the hook can come in contact with the skin and puncture it. (it does this rather easily because the hooks are sharp on the inside of the "j" area.)
Hooks are most often made of heavily nickel plated steel and this plating corrodes quickly when subjected to the salt in sweat.
They can be de-rusted, polished and re-plated very inexpensively or replaced. Keep in mind that to my knowledge, there are no actual banjo uke sized hooks being produced currently. Normal banjo hooks can be substituted but they will extend farther from the brackets and shoes on the rim and possibly interfere with the fit to a flat or flanged resonator. In that case they can be filed or ground to fit normally.
It seems that every banjo uke I have seen used also has a bent hook near the hex nut and has to be straightened before it can be removed.
Rust can be removed in one of several ways. Using an electrode bath with baking soda and a pinch of salt, using a coarse wire brush or motor driven circular wire brush, and with sandpaper of various coarseness. All of these methods prove effective, but the hook has to be free from all rust before it is plated.
A good friend of mine uses white vinegar and solid nickel coins to nickel plate at home. This uses a mild power supply and can be very handy for the smaller parts. I have a brush plater that I have converted to a dip plater and use nickel coins to replenish the nickel ions in the solution. Most plating shops can do a great job with nickel plating too, especially on larger items like tension rings. Also, if you string up your polished parts on copper or brass wire, they will plate it all for a reasonable cost.
Tension Rings
This is the wide metal band that pulls the skin tight evenly all around the rim. These are often made of steel or brass and can be quite heavy in construction or fairly thin and flimsy. I think heavier tension rings are probably better than light gauge ones, simply because they keep their flatness and are less likely to break at weld or solder joint. Sometimes they have a small cut away area to clear the path for the strings. Most banjo ukes need to have their original tension ring because it's usually critical to the uke to have that width and diameter. If the ring is over sized or undersized it can be a disaster when mounting a new vellum/skin. It might work to switch from another parts uke, but it is most often not. They can be made by a metal worker that has a ring bender that will shape flat stock. Roundness and clearance are very important with tension rings. If too large they will slip over the flesh ring and if too small they will shear the skin off like a paper cutter when mounting. Most of the time, the weld seam on the tension ring is placed under the tailpiece and sometimes where the neck cut away is. I think it's better to have it nearer the tailpiece so that the neck can have an uninterrupted section of the curve to come into contact with. Many feel this contact is important to transfer vibration from neck to the rim.
I've seen flat, grooved, notched, stepped (Gibson), angled inward and double rings that have a higher ring near the skin and lower ring for the hooks.
Banjo Ukuleles often use the same keys (wrenches) for adding tension and fine tuning the skin. These can be found at the various suppliers new and often come with a used banjo uke. The Ludwig key is specifically for Ludwigs and have a square bolt head. The Lange Banner Blue came with a heart motif on the fretboard and head stock and they included the heart on the key that was included with the banjos. The heavily corroded key is a standard Waverly and I believe the key with a circle was a Vega banjo key.
Banjo ukuleles have an array of metal parts and almost everyone of them have more than one proper name. The term hardware indicates that it is a removable addition to the banjo uke.
Starting from the head stock are the tuning mechanisms. These are usually friction tuners, or friction pegs on banjo ukuleles. You may see them called tuning machines and pegs just as frequently. There are also geared tuners similar to guitar tuners, and planetary tuners. These two types turn the string at a smaller ratio than friction style tuners and allow precise tuning. The ratios of these tuners varies and is usually something like 1 to 6, 1 to 10 or 1 to 12. Precise tuning is entirely possible with friction tuners as long as they are maintained and free of grit, worn lacquer and dust.
 |
| vintage Grover,Elton and Waverly tuning pegs |
Many of the friction tuners are constructed to use the back of the peg head as a bearing point and the smoothness of these can be improved by adding washer of various materials. (I will discuss that later). Friction tuners might have several parts or be as simple as wooden pegs that are tapered and fit into a tapered hole in the peg head, like a violin.
 |
| A tired, yet restorable set of Grover spring loaded tuners |
The parts of the tuner are: Button (the part you turn), shaft, washers, bushings and button screws or adjustment screws. Most all friction tuners can be adjusted by the tiny screw in back of the button and if the tuner remains tight after loosening this screw it should be taken apart and inspected. There might be something binding that has disintegrated like a fiber or hard rubber washer. Another issue might be a rough seat in the wood where the button rests, or the bottom of the button might need smoothing with extra fine sandpaper.
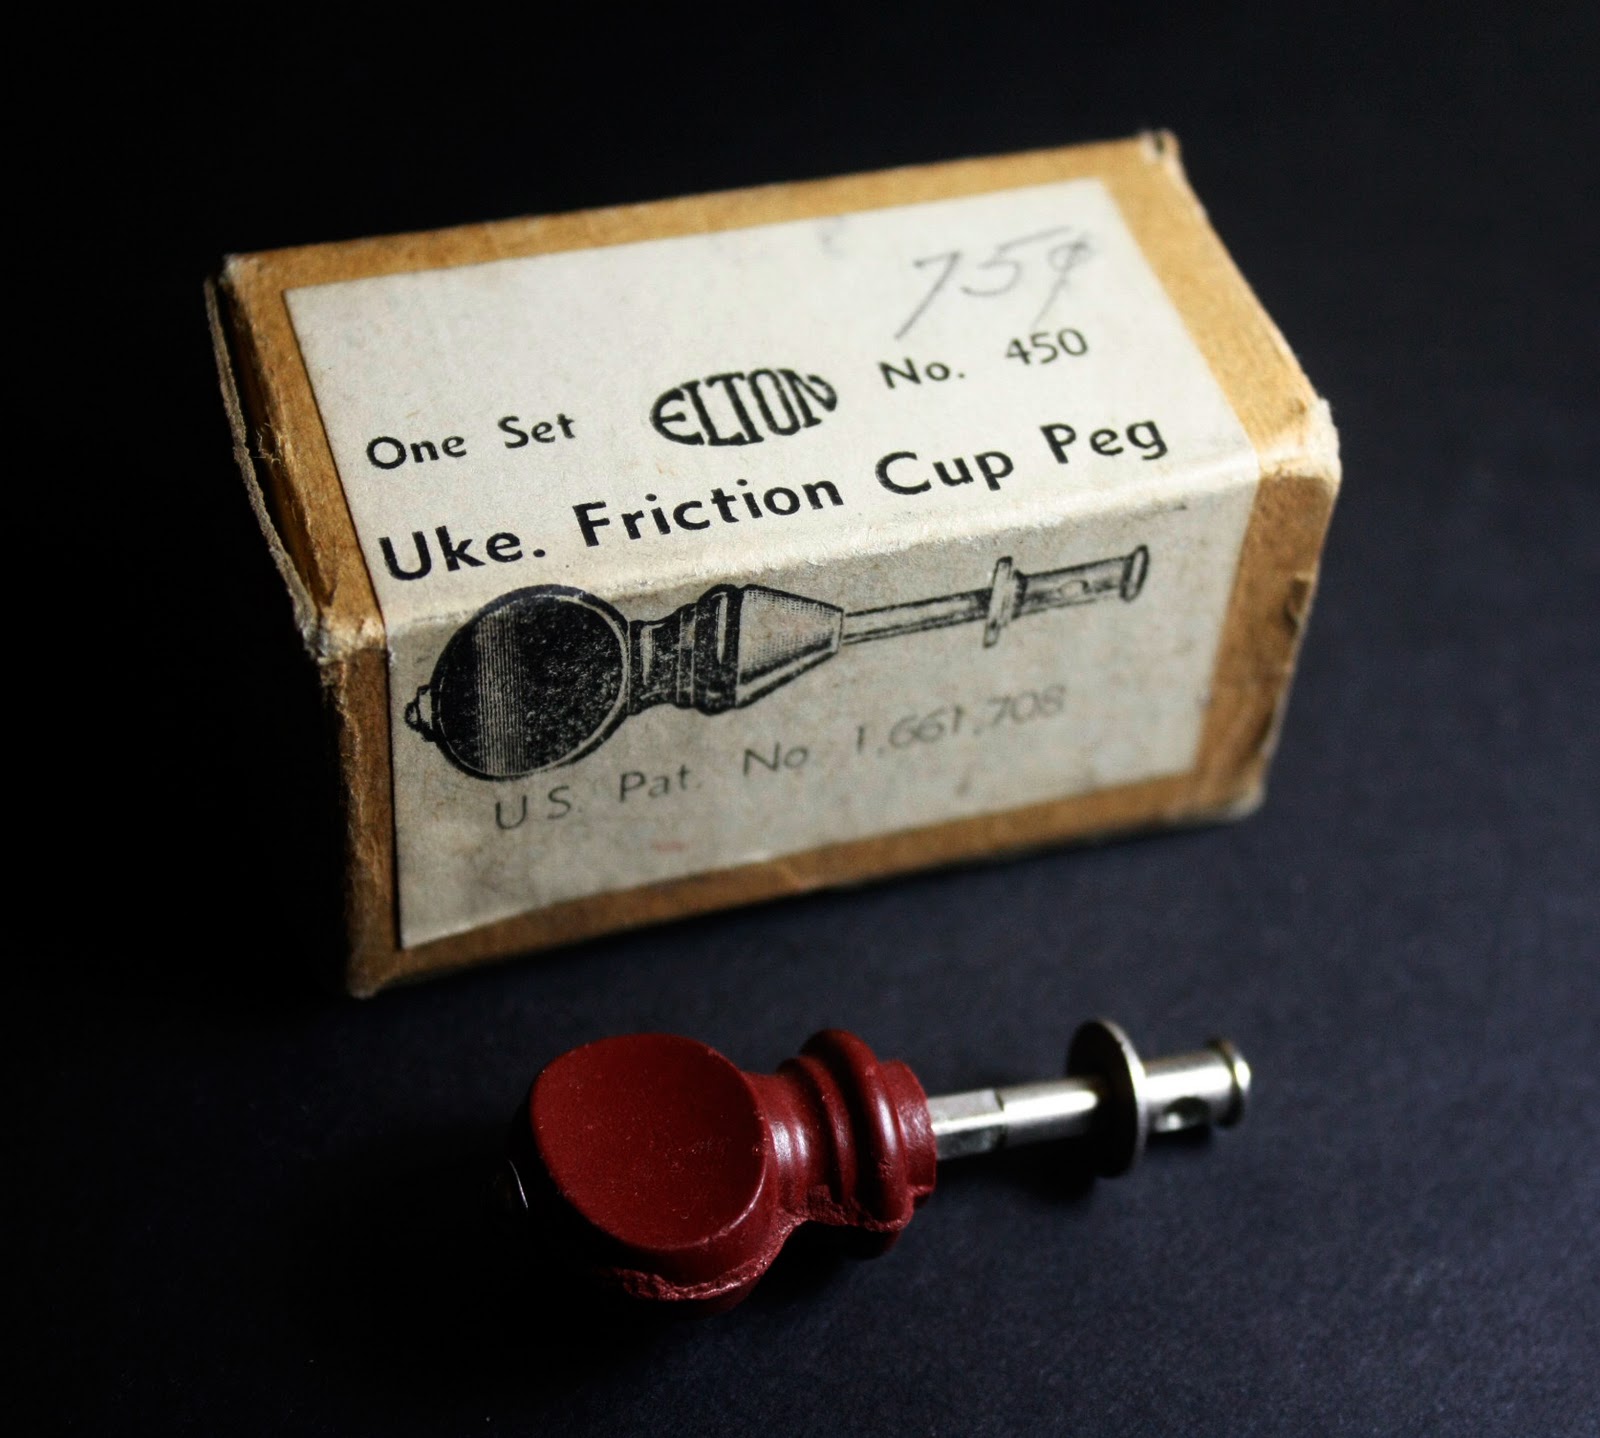 |
| These red Elton pegs would require some finish work before use |
Most buttons are plastic or some form of plastic and have seams from the molding process. There are also buttons made from various woods, ivory, pearloid, acetate plastics, metal, bone and endless other obscure choices.
I will probably revisit the tuning mechanism often in this blog with photos of the various brands and suggestions for modifications.
Next at the other end of the strings is the tail piece. The tailpiece has two functions, the first is not just to hold the strings (somewhat obvious), but to hold then downward at an angle from the bridge. This applies pressure on the bridge insuring transmission of vibration to the bridge from the string, and also, pressure on the skin which sets the skin vibrating over it's entire surface.
 |
| from left to right: Grover, Waverly,Elton and Grover Tail pieces |
 |
| reverse order from above |
A tailpiece that is out of adjustment, or poorly designed, will not put enough pressure on the skin and vibration is lost making the banjo more muted and even causing buzzing sounds and uneven string volumes. It is possible to have too much pressure on the bridge, for instance when the angle is too acute between the tail piece and bridge. This angle has been determined in full size banjos but might not be ideal for banjo ukuleles because the distance to a tailpiece from the bridge on a full size banjo would be greater, and need less of an angle to suffice. I think the best way to start with determining this angle is to picture the angle directly from the top of the bridge downward to the top of the tension ring. Something near that in a bridge/tailpiece string angle will be adequate for most purposes. Some tailpieces extend farther out over the skin and would demand an even more acute angle which might prove to be too much pressure on the bridge. This can affect tone, and quite literally force the feet of the bridge deeper into the skin and damage it by adding depressions in the skin. There are many designs for banjo ukulele tailpieces and several are still available for purchase. The "Nashville" design is still in production and were originally included on both Gibson and Stromberg Voisinet Ukes. they are available from Stewart-Mac and very reasonable in cost. One word of warning though. they has two "teeth" that can damage the skin if they are allowed to be set up against it and will puncture it like a snake bit with very small holes. This can be avoided by grinding or filing off the teeth and polishing the area to a rounded smooth surface. This might not be an issue depending on the thickness of the tension ring and it's height from the skin. Also, on the double grooved "elton" tension ring the teeth seem to fit perfectly across and it probably wont reach the skin to cause any damage.
The next hardware, which is more a permanent part of the banjo uke, are the hook brackets. This term includes the hex type, or L shoe type of brackets and the hooks that hold the tension ring securely in place and of course put pressure downward on the skin.
 |
| both of these flat hooks came off of the same banjo uke. The left is ready for polishing and plating. |
This is done by turning the hex shaped nuts at the end of the hooks. The brackets, both hex and L shaped shoes, are held by a bolt that runs through the rim and it might have a screwdriver slot or a hex head for tightening.
 |
| All of these hook nuts fit the same thread size. The right three are more suitable for banjo ukes |
Care must be taken to have these very tight so that the brackets won't lean inward as pressure is applied to the skin. This can damage or lift the veneer away from the rim.
Hooks come in two basic types, J hooks and flat hooks. They both do the same thing but the J hooks are designed for tension rings that have a notch machined for the curved area of the hook, and often allow it to be near flush to the top of the tension ring. That being said, very often the J hooks are used on banjo ukes where they not really designed for. This is only a problem when the hook can come in contact with the skin and puncture it. (it does this rather easily because the hooks are sharp on the inside of the "j" area.)
Hooks are most often made of heavily nickel plated steel and this plating corrodes quickly when subjected to the salt in sweat.
 |
| J hooks are designed to fit grooved and notched tension rings. |
They can be de-rusted, polished and re-plated very inexpensively or replaced. Keep in mind that to my knowledge, there are no actual banjo uke sized hooks being produced currently. Normal banjo hooks can be substituted but they will extend farther from the brackets and shoes on the rim and possibly interfere with the fit to a flat or flanged resonator. In that case they can be filed or ground to fit normally.
It seems that every banjo uke I have seen used also has a bent hook near the hex nut and has to be straightened before it can be removed.
Rust can be removed in one of several ways. Using an electrode bath with baking soda and a pinch of salt, using a coarse wire brush or motor driven circular wire brush, and with sandpaper of various coarseness. All of these methods prove effective, but the hook has to be free from all rust before it is plated.
A good friend of mine uses white vinegar and solid nickel coins to nickel plate at home. This uses a mild power supply and can be very handy for the smaller parts. I have a brush plater that I have converted to a dip plater and use nickel coins to replenish the nickel ions in the solution. Most plating shops can do a great job with nickel plating too, especially on larger items like tension rings. Also, if you string up your polished parts on copper or brass wire, they will plate it all for a reasonable cost.
Tension Rings
This is the wide metal band that pulls the skin tight evenly all around the rim. These are often made of steel or brass and can be quite heavy in construction or fairly thin and flimsy. I think heavier tension rings are probably better than light gauge ones, simply because they keep their flatness and are less likely to break at weld or solder joint. Sometimes they have a small cut away area to clear the path for the strings. Most banjo ukes need to have their original tension ring because it's usually critical to the uke to have that width and diameter. If the ring is over sized or undersized it can be a disaster when mounting a new vellum/skin. It might work to switch from another parts uke, but it is most often not. They can be made by a metal worker that has a ring bender that will shape flat stock. Roundness and clearance are very important with tension rings. If too large they will slip over the flesh ring and if too small they will shear the skin off like a paper cutter when mounting. Most of the time, the weld seam on the tension ring is placed under the tailpiece and sometimes where the neck cut away is. I think it's better to have it nearer the tailpiece so that the neck can have an uninterrupted section of the curve to come into contact with. Many feel this contact is important to transfer vibration from neck to the rim.
I've seen flat, grooved, notched, stepped (Gibson), angled inward and double rings that have a higher ring near the skin and lower ring for the hooks.
Banjo Ukuleles often use the same keys (wrenches) for adding tension and fine tuning the skin. These can be found at the various suppliers new and often come with a used banjo uke. The Ludwig key is specifically for Ludwigs and have a square bolt head. The Lange Banner Blue came with a heart motif on the fretboard and head stock and they included the heart on the key that was included with the banjos. The heavily corroded key is a standard Waverly and I believe the key with a circle was a Vega banjo key.
 |
| Various vintage banjo keys |


